Some time ago, Kyle had mentioned to me that there’s a lightweight version of Knoppix out there called Damn Small Linux, or DSL for short. If anyone would know about Knoppix derivatives, it’d be Kyle. After all, he wrote the bestseller Knoppix Hacks, and the logical follow-up, The Knoppix Pocket Reference. (Like that plug, Kyle?)
Anyhow… DSL makes a great addition to any toolkit. It’s small size (50MB) means that it’ll fit on a mini-CD or business card CD. It’ll also easily install onto a USB key. And since I had a USB key that was underutilized (it only had my resume and some other files on it) I figured I’d give it a go. (For what it’s worth, I have a 512MB Intelligent Stick. The thing is so small is disappears in my wallet. Highly recommended.)
DSL’s got another unique feature; they call it their “5-way” bootable USB stick. Not only can you boot DSL from a USB stick (in USB-HDD or USB-ZIP modes), but you can also install QEMU on the stick with their 5-way script. The 5-way script will then setup the USB stick to have two scripts on it for use with QEMU: a script that’ll load DSL under Linux as a host OS, and another that’ll load DSL under Windows as a host OS. Pretty nifty; and that’s what I decided to test out.
Installing the 5-way boot is surprisingly easy. First, you’ve gotta get the DSL .iso from their website (http://distro.ibiblio.org/pub/linux/distributions/damnsmall/current/current.iso, then burn that to a CD with the capacity of your choice.
Next, boot from the CD to the DSL distro. Once it’s up, you may need to launch netcardsetup to setup your NIC if you don’t have a DHCP network available. After that, use the included Dillo or Firefox browsers to get the 5-way script (http://distro.ibiblio.org/pub/linux/distributions/damnsmall/current/5-way.tgz) and untar that script.
Once that’s done, you can plug in your usb stick and run the 5-way setup script. It’ll prompt you for installation instructions, and it’ll format your usb stick (MAKE SURE YOU BACKUP YOUR DATA THAT’S ON IT), install the bootloader, and it’ll create all the QEMU script mojo. After that, you can reboot back into your host OS of choice, plug in your stick, and run the appropriate windows or linux script to start DSL. If you had data on the stick, feel free to create directories and put your data back - having data on the stick won’t hurt the USB boot any. If you’re running Ubuntu, make sure to mount your USB stick without the “noexec” option, otherwise it won’t execute QEMU.
Here’s some screenshots:
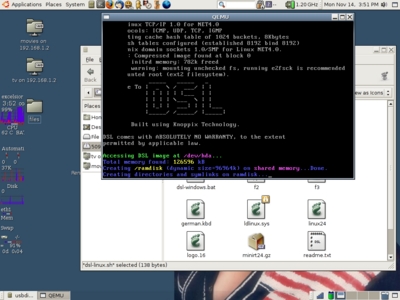
The File Structure of the USB stick after installing the 5-way script. Note the “dsl-linux.sh” script - that’s what you run to boot DSL under linux.

Here’s QEMU just beginning to boot DSL:

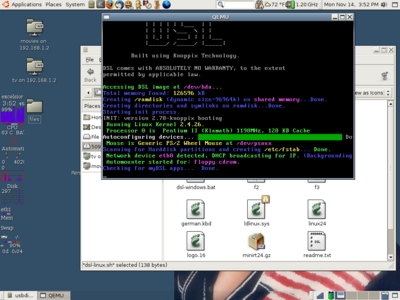
More of the boot process. Note that QEMU is emulating a Pentium II architecture - even though this is a P4-M host machine.

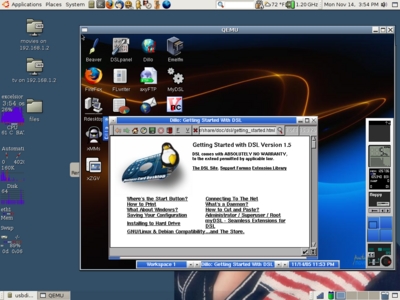
DSL fully booted. Note some of the cool features - it’s got Firefox, Dillo (comes up automatically), XMMS, and a few WindowMaker-like dockapps. It uses fluxbox as its WM, so you flux freaks will be right at home. :)

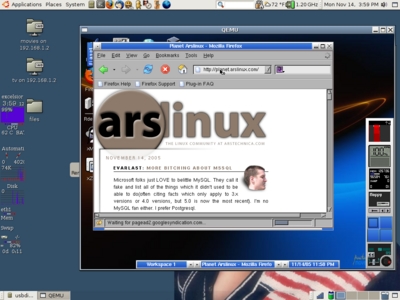
Networking works automagically out of the box. All I did was fire up Firefox and plug a URL in, and BAM!

That concludes this mini-tour of DSL. Hope you find it useful – I’ll keep it installed on my USB key as part of my sysadmin toolkit.