So, you find yourself with a Windows machine that’s giving you a Blue Screen Of Death (BSOD)? Depending on the Blue Screen error and the age of the machine, you might be suffering from a failing RAM module. Let’s say you’re - oh, I don’t know - a radio show host, not a techie, but you need to figure out what’s up with this machine. Here’s how you can build a USB thumbdrive that will boot a memory test program - and maybe help you narrow in on your issue.
You’ll need a USB thumbdrive. Just about any size will do, as the program we’re going to use is pretty small. Even an old throwaway 32MB unit is totally fine for this. However, if there is ANY data on the thumbdrive - BACK IT UP. I can’t stress this enough, as doing this will totally ERASE the USB thumbdrive, so be sure to save the data on it if there is any.
Now that you’ve got your thumbdrive, go to the Memtest download page. Be sure to get their “Auto-installer for USB Key (Win9x/2k/xp/7). This will download a .zip file to your machine. Unzip that file, and you’ll have a “Memtest86+ 4.10 USB Installer.exe” on your machine.
At this point, insert your USB thumbdrive (hopefully you backed up any data on it!) and then double click on the “Memtest86 4.10 USB Installer.exe” icon to start the installer.
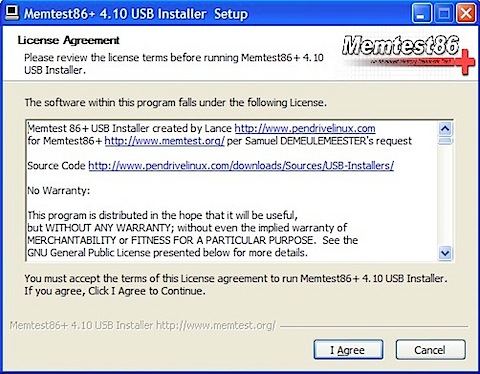
Push “I agree” to accept the license agreement.
Next, you’ll need to select the disk that is your USB thumbdrive. Pull down the appropriate drive letter - and double check it, as you don’t want to accidentally select your hard disk! (The installer was smart enough, for me, to not give me the option, but you can’t be too safe.) In my case, this was drive E:, but your computer may be different. Make sure you check the “We will format” check box next to the drive selector dropdown as you will want the USB thumbdrive cleaned off to provide a place for Memtest to reside. When you’re ready, click on “Create”.

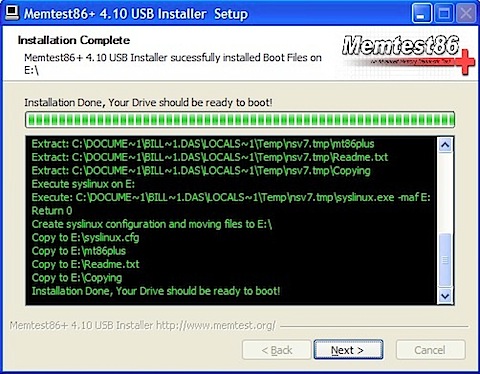
After you hit create, you’ll see a progress bar march across the screen, and a bunch of files get listed in the dialog box. That’s the installer program, creating your USB thumbdrive with Memtest on it. Hit “next” to go to the last screen…
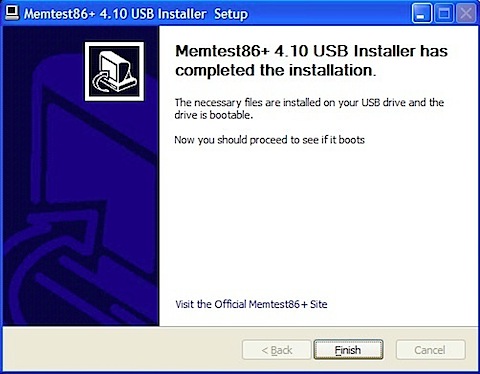
You’ll then see a “This is completed” dialog box. Your USB thumbdrive is ready to test your memory!
Now, to actually TEST your memory. Shut your machine down, and have the USB thumbdrive hooked up to the machine. Then power on the machine and hit the key that will call up the “boot menu”. Most machines made in the last five years or so have this function, but many people never even know it’s there. While the splash screen for the computer manufacturer is up, hit the “boot menu” key. For example, on a Dell, it’s F12. On a Lenovo Thinkpad, it’s F11. Once you hit that, you should get a menu along the lines of the following:

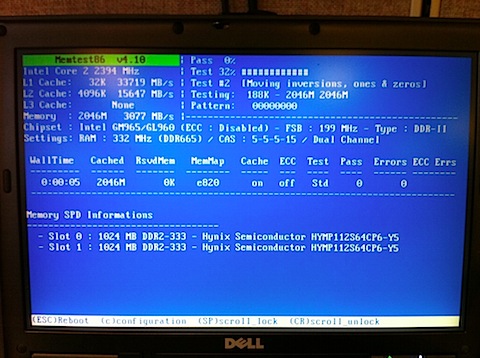
Select “USB Storage Device” and hit ENTER on the keyboard, and the system will boot from the USB thumbdrive you made in the above steps! Memtest will automatically launch, and it’ll immediately start checking your machine’s RAM. The Memtest screen is pretty basic, and is shown in the last picture below. Let the test run, preferably overnight. Any bad spots in RAM will be shown in the diagnostic window, and then you can decide if you need new RAM, and if you should do a memory upgrade while you’re at it. :)
Good luck, and I hope this helps some of you out there!